The Best Way to Pack for a 3-Day Backpacking Trip
A practical packing walkthrough for Vung's first 3-day backpacking trip, covering food, cooking gear, clothes, sleep setup, pack fit, and trail-tested lessons.
About This Route
Packing for a first backpacking trip is where the trip starts to feel real. The trail is still ahead of you, but every decision is already adding weight: the stove, the food, the extra layer, the water filter, the "just in case" item that quietly becomes two pounds.
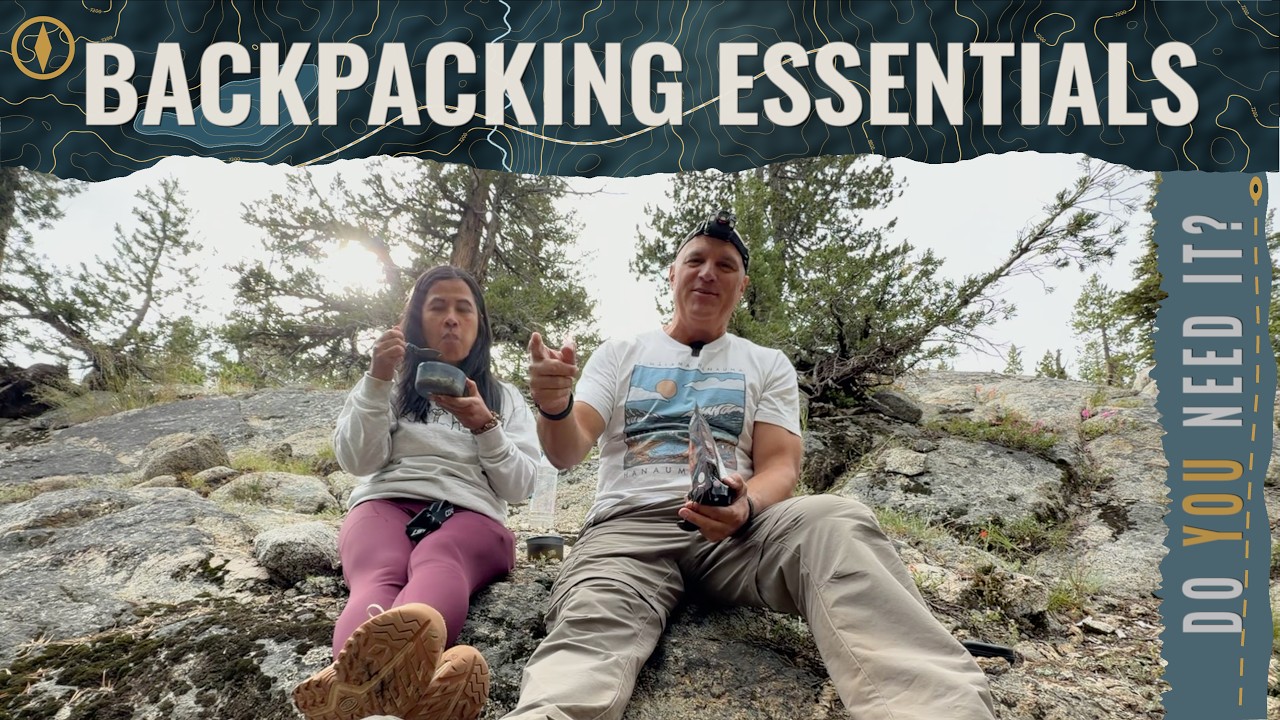
In this video we get ready for Vung's first 3-day backpacking trip by laying everything out in the garage, sorting what actually needs to come, and figuring out how to make it all fit in a way that will still feel manageable after a few miles. It is part packing guide, part shakedown, and part reminder that the best backpacking setup is the one you can actually carry.
This is the same Yosemite trip connected to our Katadyn Hiker Pro review, bear canister review, and Tuolumne River tea break.
What This Video Covers
- Cooking gear and why we brought a stove even while trying to keep weight reasonable
- Food planning for a short 3-day trip, including what needed to fit inside the bear canister
- Sleeping bags, clothing, comfort items, and the small extras that add up fast
- How we loaded and adjusted the backpacks before heading out
- Highlights from the actual trip, plus a post-trip look at what earned its place
The Packing Strategy
The best way to pack for a short backpacking trip is not to start by stuffing things into the backpack. Start with everything visible. We laid the gear out first so we could see the whole system: sleep, food, water, cooking, clothes, safety, and camera gear.
That makes tradeoffs easier. If the pack is too full or too heavy, you can decide what problem each item is solving instead of blindly removing whatever happens to be on top. A 3-day trip is short enough that you can keep things simple, but long enough that mistakes still matter.
For us, the priority was making Vung's first trip feel doable. That meant the lightest possible pack was not the only goal. A warm drink, hot food, clean water, and a sleep setup that felt comfortable enough to recover all mattered more than shaving every ounce.
Food, Stove, and Water
Food takes more space than people expect, especially once you remember that all scented items need to fit in the bear canister. That includes snacks, meals, trash, toothpaste, sunscreen, wipes, and anything else with a smell. The canister becomes the real packing limit before the backpack does.
We also chose to bring a stove. On paper, skipping hot meals saves weight and fuel. In real life, a hot dinner and morning coffee can make a beginner backpacking trip feel much more pleasant. For this route, that was worth it.
Water treatment was its own system. We brought the Katadyn Hiker Pro so we would not have to rely on boiling all of our drinking water, and it ended up being one of the more useful pieces of gear from the trip.
Clothing and Sleep Gear
Clothing is where overpacking hides. The trick is to think in layers rather than outfits. You need something to hike in, something warm enough for camp, protection from sun and weather, and dry sleep clothes if conditions call for it. You do not need a fresh full outfit for every day.
Sleep gear is less negotiable. If you do not sleep, everything gets harder the next day. A reasonable sleeping bag, pad, and shelter setup are worth protecting in the pack, even when you are trying to keep the load compact.
Loading the Pack
Once the gear was sorted, the pack still had to carry correctly. Heavy items should ride close to your back and roughly centered, not dangling off the outside or sitting low enough to pull your hips backward. Bulky but lighter items can fill the bottom and outside space.
A few basic rules helped:
- Keep water, snacks, sunscreen, and layers reachable.
- Pack the bear canister so it does not create a painful pressure point.
- Avoid hanging loose gear from the outside unless there is no better option.
- Adjust the hip belt first, then shoulder straps, then load lifters.
- Walk around with the loaded pack before the trip, not for the first time at the trailhead.
What We Learned After the Trip
The postmortem is the most useful part of packing. You only really learn whether an item belonged after carrying it.
Some gear proved itself immediately: the water filter, stove, and comfort items that made breaks feel better. Some things were more questionable, either because they were heavier than their value or because they solved a problem we did not actually have. That is the rhythm of backpacking: pack, test, adjust, repeat.
The lesson was not "bring less no matter what." It was more specific than that: bring what supports the trip you are actually taking. For a first backpacking trip, confidence and comfort matter. The next trip can get lighter because the first one went well.
Video Chapters
- 0:00 - Intro
- 0:15 - Cooking Equipment
- 2:50 - Picking & Packing Food
- 5:20 - Camping Equipment & Clothes
- 8:14 - Packing & Adjusting Backpacks
- 10:32 - Highlights From Our Trip
- 11:33 - Postmortem: Needed or Not?
Related Videos From This Trip
- Katadyn Hiker Pro review - the water filter we brought into Yosemite
- Bear canister review - the food-storage lesson we learned the hard way
- Yosemite tea break - a quiet moment from the trail after all that packing paid off
- Our Favorite Gear - gear we use regularly, including items from the videos
Subscribe on YouTube for the full backpacking trip video, more gear follow-ups, and future route breakdowns.
A Note on Conditions
Backpacking gear choices depend on the route, season, weather, regulations, and the people going. Always check the current rules for your destination before packing, especially food-storage requirements, stove restrictions, wilderness permits, and water conditions. Pack weight matters, but safety and an enjoyable first trip matter too. Test critical gear at home before relying on it in the backcountry.